
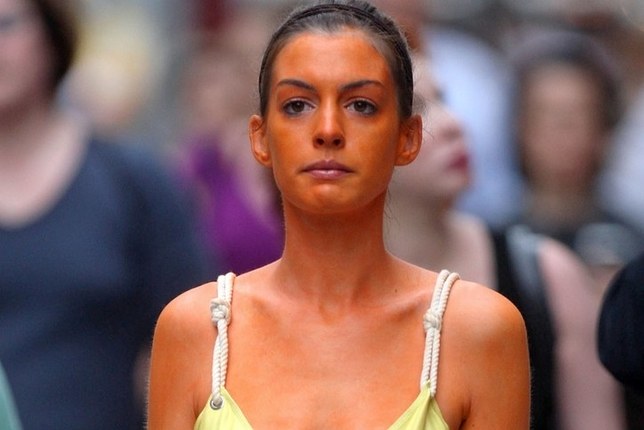
Technically, I’m a little late to the self tanning tips game. But so what? It’s fall now, and it’s still really stinking hot in Alabama. Most of us won’t be wearing sweaters and fleece-lined leggings for a long while. With school in full swing none of us get to lay out by the pool as often, so I wanted to share some tips on having a great self tanning experience so we can still rock our shorts and sandals well into the fall here in the south with bronzed confidence.
I’ve tried MANY brands of self tanner. I’ve tried high end, low end, mousses, sprays, lotions, in-shower lotions, and seriously considered the towels. Anyone used those and had a good experience? I chickened out the last time and stuck to my regular brand. I’ve had the most success with the mousse variety self tanner and at the low end price point, mind you. I’ve become a bit of a pro at this, so I’d like to give you some quick tips on making your self tanner go on smoothly and last all week.

- Exfoliate-You’ll first want to exfoliate your skin really well. This will remove any dead skin or residual fading tan from the previous time you bronzed up. I always use my homemade sugar scrub (find it here), or you can use the highly reviewed sugar scrub from Beautycounter. Trust me, this step makes all the difference.
- Shave before or after– Now, I’ve read conflicting opinions on if you should shave your legs before or after you tan. I’ve tried both ways, and honestly, I can’t tell the difference. I typically shave my legs before simply because I’m already in the shower exfoliating, so I prefer to get it all done at once. However, shaving after your tan has set in has been reported to even out your tan since your skin will be smooth and void of all hair. Again, I have done both and sincerely cannot tell a difference.
- Use barrier cream– Once you’re all clean and exfoliated, I suggest that you apply lotion to your elbows, knees, ankles, toes, and fingers. If you’ve ever gotten a spray tan in a booth, you’ll likely remember hearing them tell you to put on the barrier cream before starting your tan. I always found this tip very helpful, and the one time I didn’t do it, I turned out looking like I had been digging in the dirt with my bare hands. I use an unscented lotion, but I think any lotion will work fine.
- Start from the bottom and work your way up– When you’re ready to tan, work your way from the bottom up. I always start with my lower legs and feet and work my way up to my neck and back. Because I typically use the mousse, I apply it using a tanning mitt. I use 3 small pumps for each lower leg and foot. Starting at the ankle I gently swipe the product from my ankle to just below my knee. Use a light touch so that you don’t spread it around unevenly. Use the leftover tanner that’s on the mitt from the leg on your feet. Don’t put a fresh pump of tanner directly onto your feet. They’ll look dirty even after you shower. Follow this method of a few pumps per area and gently swipe up and evenly.This will ensure you get the best, most natural looking tan from a can. 🙂
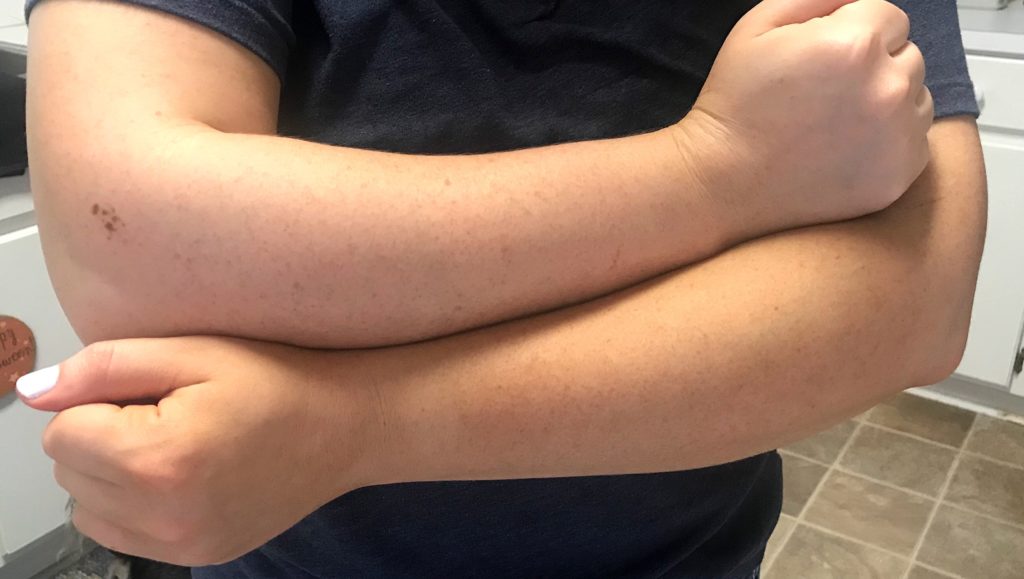
- Careful on those knees and elbows– Everyone’s problem areas are their knees, elbows, and ankles. Here’s what’s worked for me: make sure to distribute most of the product that’s on your mitt onto the larger areas of your body then lightly rub the mitt over your knees, elbows, and ankles. And be generous with the lotion in those areas.
- Give it time to dry– Depending on the type of self tanner that you’re using, your dry time shouldn’t be too long. I like to give myself 5-10 full minutes of no clothes on the areas that I’ve tanned. When I do get dressed, I usually wear loose fitting clothes for a bit. After a half hour I can throw on skinny jeans and not have any problems with the tan rubbing off or becoming uneven. This is the case with the mousse, for sure. When I’ve used lotions I’ve needed extra dry time. You’ll be able to tell when you’re ready to get dressed.
- Wait to shower– There are many types of self tanners out there that are labeled express. These usually claim that the tan will be fully developed in about two hours and that you can shower after that amount of time. If you aren’t using the quick-developing tanner, then wait 4-6 hours. I always sleep in mine and shower in the morning. If you don’t wait, you run the risk of a streaky, uneven tan or no tan at all. Try to stay dry.
- Moisturize daily– Finally, the secret to making your tan last is to moisturize daily. After your shower, your pores are opened up and will absorb lotion best. This will also ensure that your tan will wear off evenly. It’ll be a gradual fading rather than a splotchy mess. Trust me, I’ve done it both ways and moisturizing always wins out.
Here’s a product roundup of what I use to get the best self tan:
I realize I’m on the extremely fair skin spectrum, but I’m curious to know what your self tanning regimen is no matter your skin tone or shade. Or do you even have one? Most of you can lay out all summer and have a tan that lasts you well into the fall. I’m not that fortunate, so I use my sunscreen when I go outside and apply self tanner when I need some color. How do you tan in the fall? Do you have a favorite self tanner? How about any tried and true tricks? Tell me in the comments. 