
I follow quite a bit of fashion and beauty bloggers and YouTubers, and lately, I’ve been seeing these earrings pop up in a few places.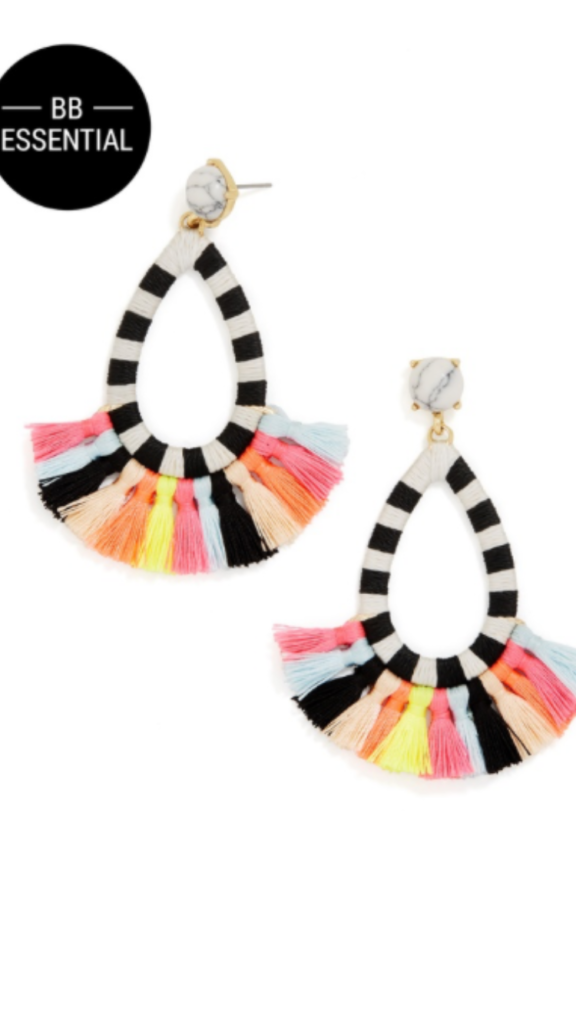
I instantly fell in love with them, sourced them out, and went to place my order. I found they were at one of my favorite jewelry websites, Baublebar, but they had to be pre-ordered and they were $38. In the grand scheme of things $38 isn’t really that much money, but if you follow me on Instagram, you know that I love myself a good Walmart clearance deal. I’ve also linked several more budget friendly jewelry retailers in a previous post. See, I’ve always been told I have champagne taste on a beer budget. And right now my budget is not willing to pay for much more than Natural Light. So, to me $38 made me initially go, “Aw man.” As I did the back and forth of “do I really need these?”, “but they are so cute”, “no one is going to have these”, “but they are nearly $40-especially after taxes and shipping”, “they are definitely an indulgence”, etc…I realized that they were made of thread. And then I thought, I’m kind of crafty. I used to cross stitch when I was a kid, so I know my way around a needle and thread. I can absolutely MAKE these! Luckily, I had a similarly shaped pair of earrings (that I got on clearance at Walmart), but I hadn’t been wearing them lately, so I decided they were getting up-cycled.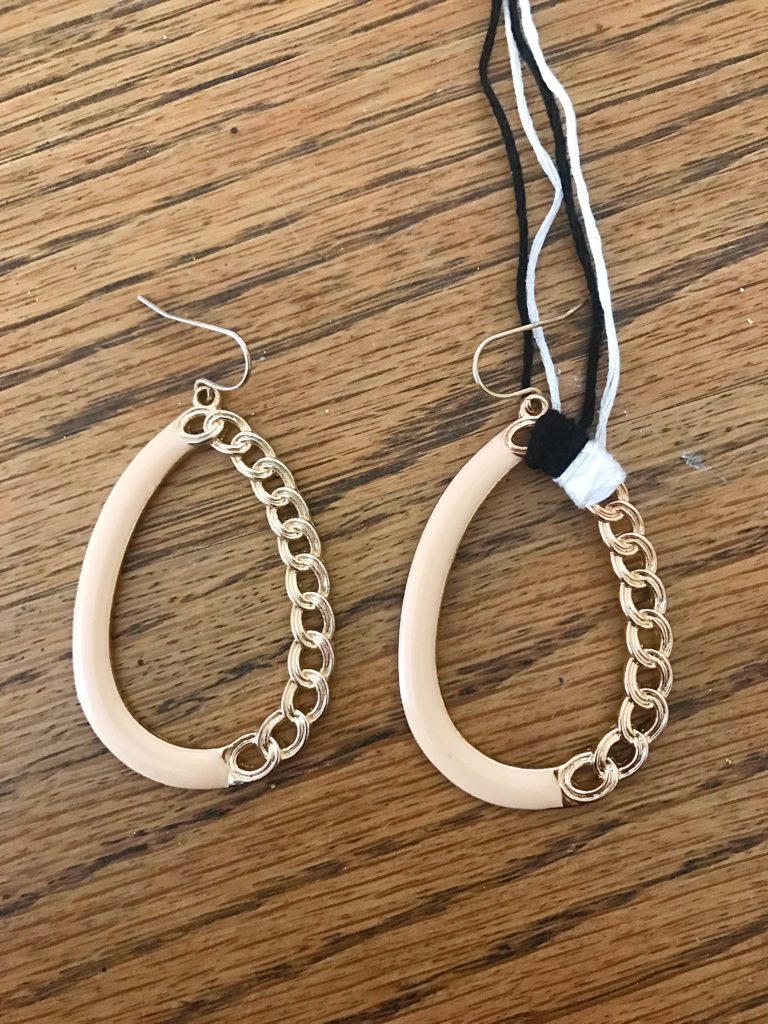
My Granny has recently passed away, and she was a bit of a “collector”-of lots of things. One of these things being thread. *Thank you, Granny!* My mom also has a rather large collection because she likes to sew and used to do her fair share of cross stitching too. I asked to peruse her collection, but she brought over two large containers from my Granny that just so happened to have the perfect colors and plenty of each one.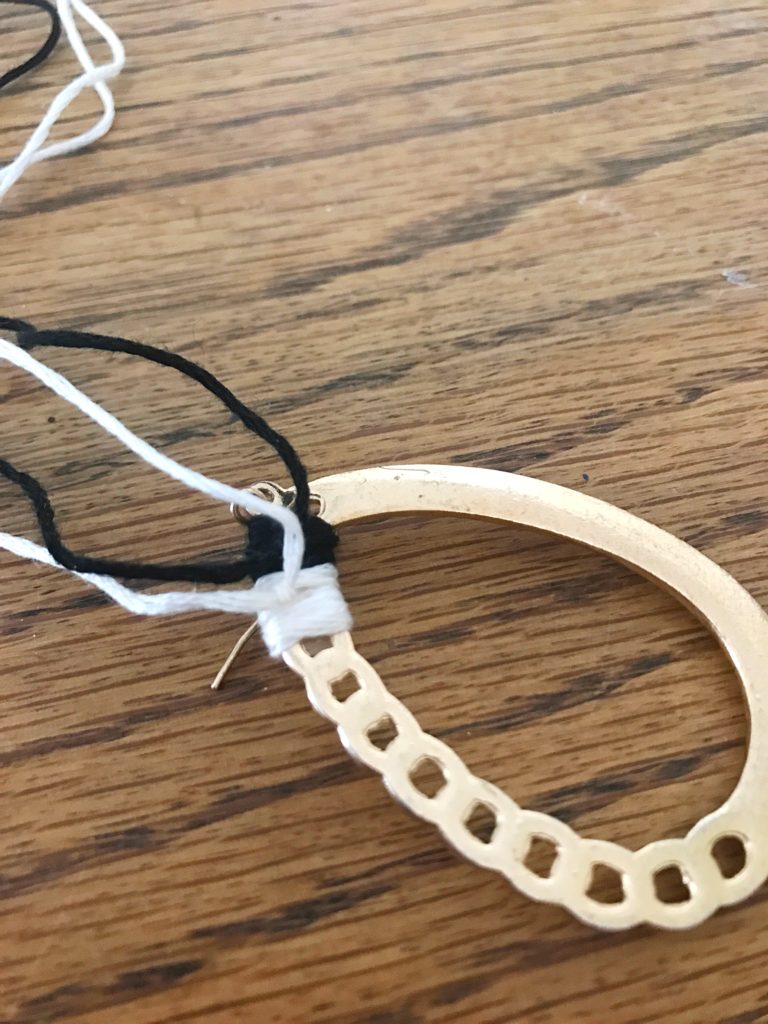
I started out with the black and white pattern around the earrings.
I got a little carried away and cut the thread early on after I had tied knots, but I underestimated how much I had to handle the earrings, and they promptly fell apart. So, back to square one. Live and learn, right?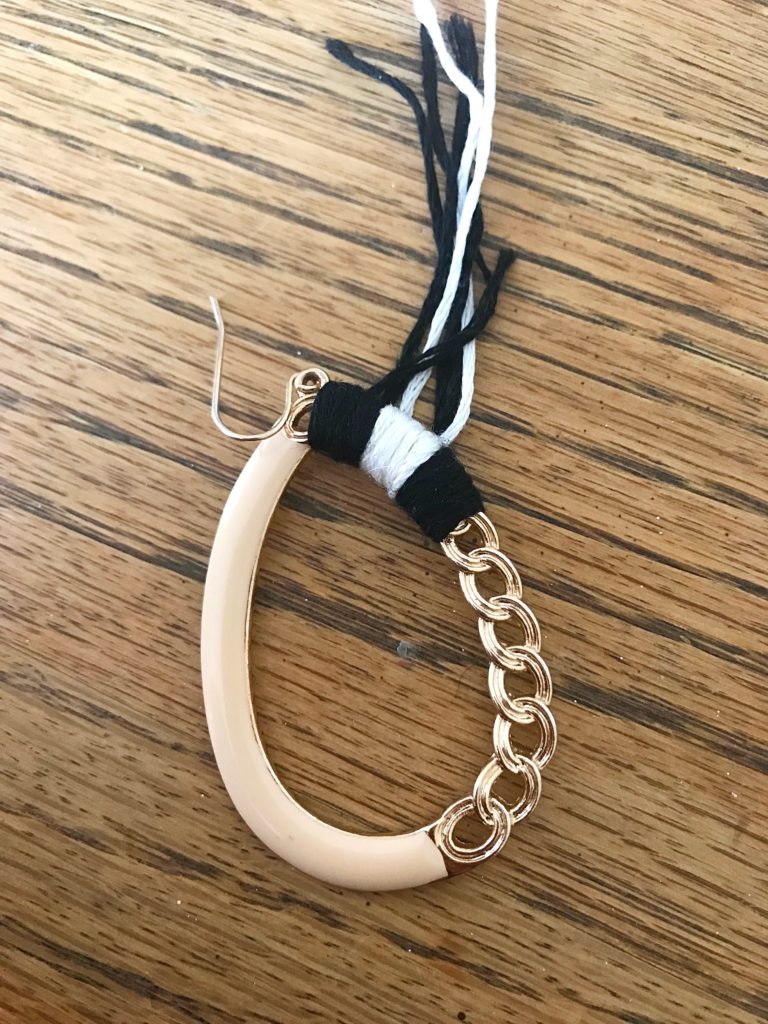
I decided to leave long strands to tighten again if needed. Once I had it completely wrapped, I made sure the knots were tight, cut the excess string, and Superglued the ends down to the back. I tried to make it as nice looking as possible, but since the backs don’t really show, I wasn’t too worried about it.
You know when you set out to do a task, especially a DIY, and you think that it’ll take like an hour, maybe two? Yeah, I thought this too, but it took me all dang day and then the next afternoon to complete these things. So, when I got one completely done in black and white, I was super excited.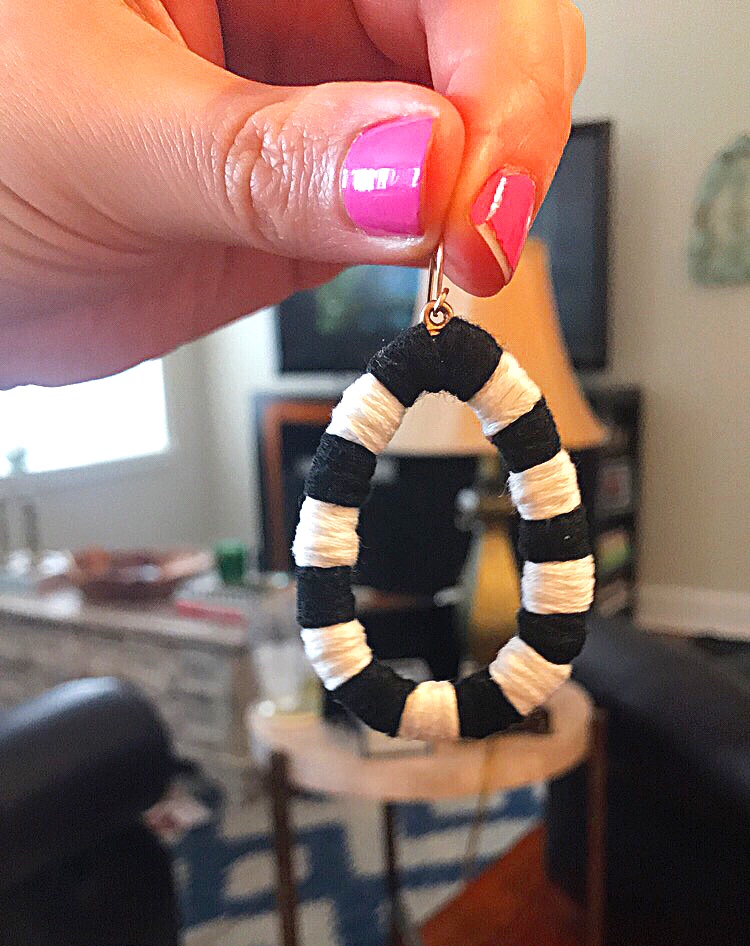
![]()
My Aunt Rena told me that it was fairly simple to make a tassel. I followed her instructions of wrapping the thread around something (my two fingers), cutting the bottom to open up the loop, pulling up the top a bit and wrapping a sting of the same color around to make the tassel. It really was simple. But then as I looked back at the original earrings, I saw how many I had to make. Holy cow!![]()
I made them according to the picture but ended up not needing them all. I made up my pattern of tassels and laid them out to see if I liked it. I did. Then I had to decide how to attach the tassels to the base. This is when I went to bed. My brain had had enough.
When I got back to work, I thought I might need some jewelry wire, but turns out I could thread the tassels together using white or black thread (I chose white). I then wrapped the extra around the part of the earring that was already wrapped in white and Superglued it to make it secure.
I also added a little Superglue along the bottom of the base so that the tops of the tassels would lay flush to it.
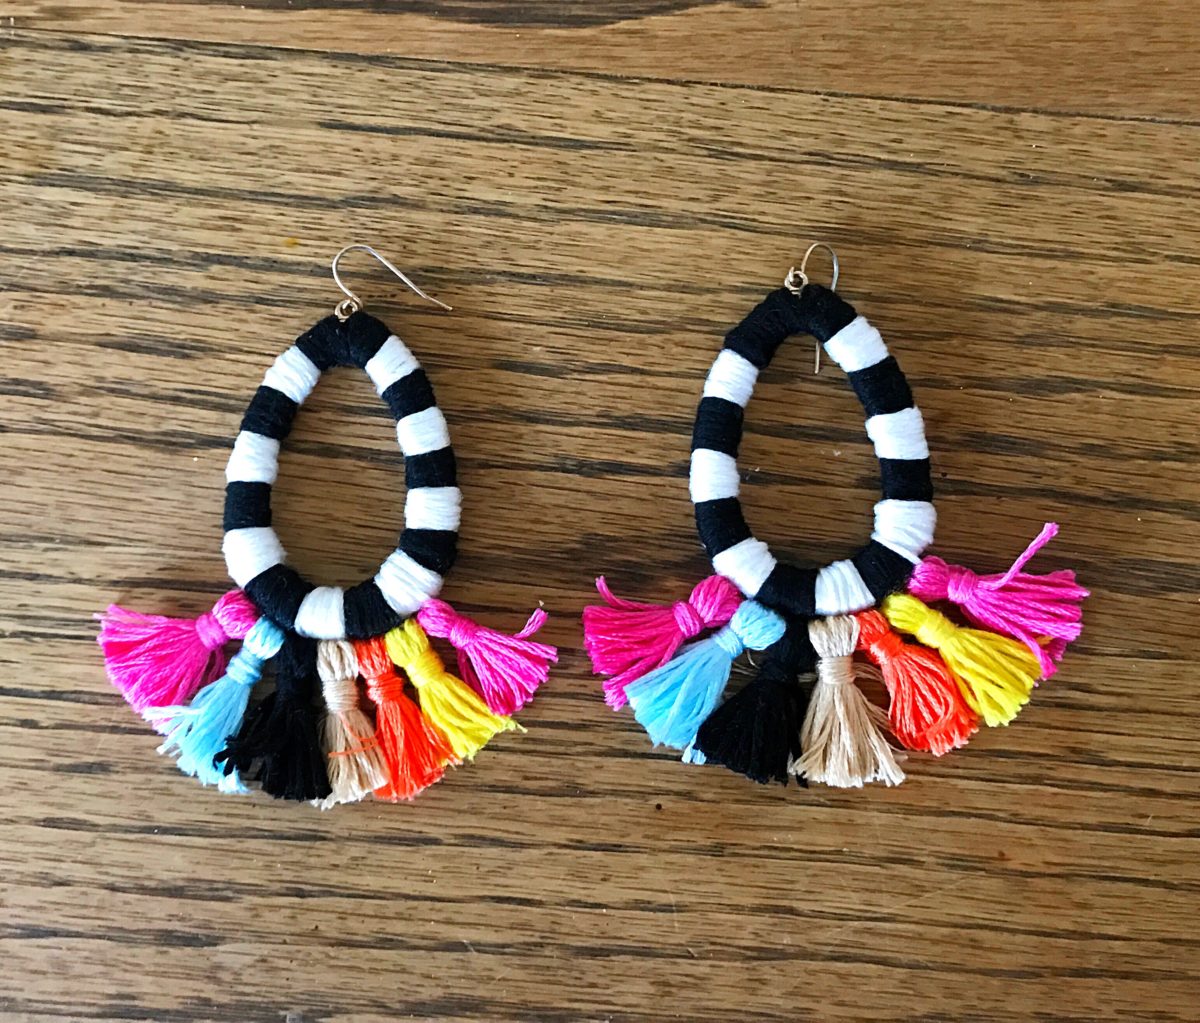
I think they turned out cute. I have enjoyed wearing them, and though they don’t look exactly like the originals, I think they are pretty darn close. I also love the fact that I didn’t have to pay a dime (except maybe $2.00 for the actual earrings when I originally bought them).
If you’re still reading by now, I want to say that I wrote this post to show that just because you may have expensive taste without the budget to go along with it, you don’t have to go without. Sure, these earrings might not be of the same quality as Baublebar, but with a little imagination and creativity I was able to recreate something that I might never have bought for myself because it seemed a little indulgent. Also, I know that I appreciate them more because I put the time and effort in to making them with my own hands.
I challenge you to get crafty this month. It’s spring! It’s time to do something fun. Make a pretty wreath for your door, sew some cloth napkins or place mats, arrange a pretty spring bouquet for your table, or perhaps you want to make some earrings. 🙂 Happy Crafting, everyone!